Introduction
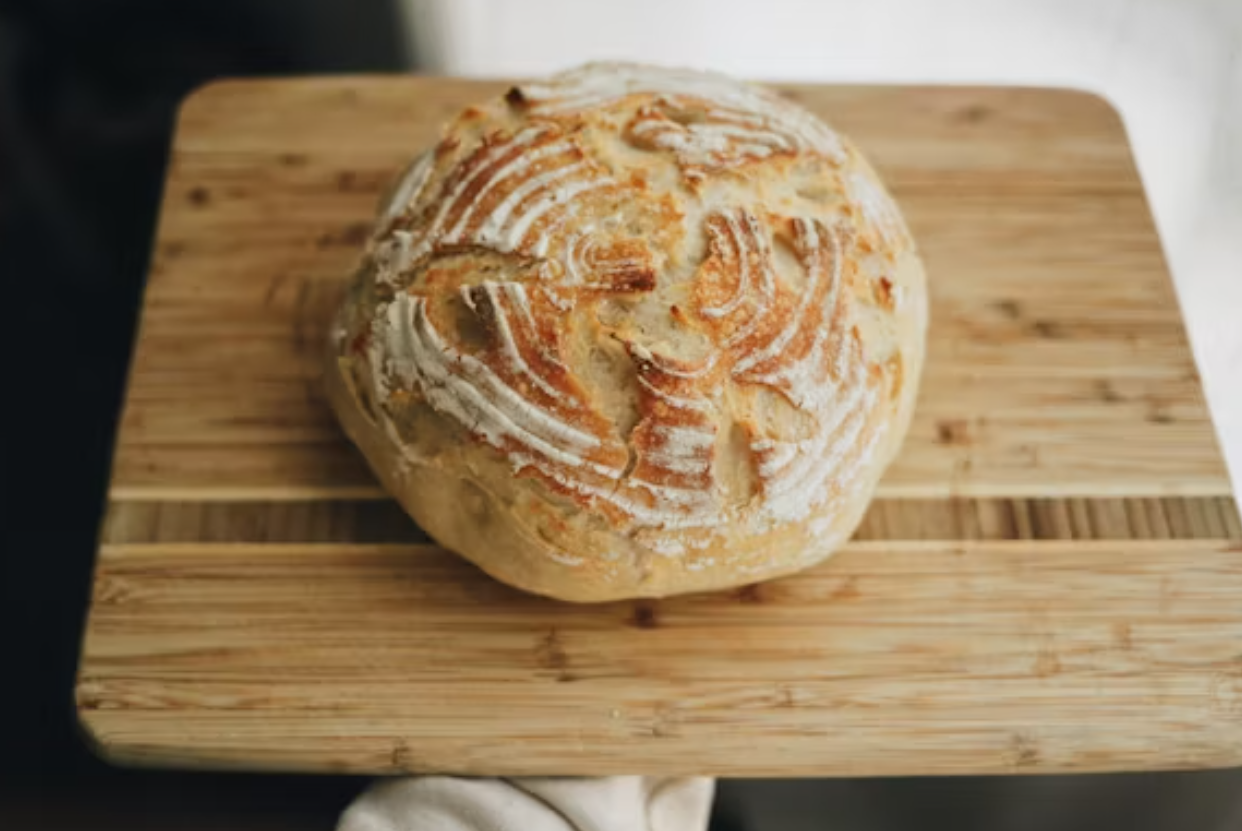
Baking homemade bread is one of those rewarding experiences that brings a warm, comforting aroma into your home, creating a sense of accomplishment with each loaf you bake. But, why go through the effort when you can easily grab a loaf at the store? Simple: nothing compares to the taste and texture of freshly baked bread, and there’s a certain joy in creating something from scratch. So, how can you ensure that every loaf you bake turns out perfect, no matter your skill level?
In this guide, we will break down the essential ingredients, techniques, and tips for baking bread that is soft, flavorful, and has that perfect crust. With a bit of patience and practice, you’ll be able to bake perfect homemade bread every time.
Essential Ingredients for Perfect Homemade Bread
Before you start baking, let’s talk about the essential ingredients that will make your bread rise to the occasion.
Flour: The Backbone of Bread
Flour is the primary ingredient in bread, and the type you choose can affect the texture and structure of your loaf. Bread flour, with its higher protein content, is ideal for making bread because it creates more gluten, which gives your bread its chewy texture. However, all-purpose flour works well too if you don’t have bread flour on hand.
Yeast: The Magic Behind the Rise
Yeast is the magical microorganism that makes your dough rise. There are two main types of yeast: active dry yeast and instant yeast. While both work well, instant yeast tends to rise faster and can be mixed directly with the dry ingredients, while active dry yeast needs to be dissolved in warm water first.
Water and Salt: Balancing Act
Water is the essential element that activates the yeast and helps develop the dough’s gluten. Salt, on the other hand, enhances the flavor and controls the fermentation rate. Be careful with the amount of salt, as too much can inhibit yeast activity, leading to a poor rise.
Optional Add-Ins for Flavor and Texture
Add-ins like herbs, spices, cheese, or seeds can elevate your bread to the next level. Whether you want to add rosemary for a rustic flavor or sunflower seeds for extra crunch, feel free to experiment with different combinations.
Understanding the Basics of Bread Making
Before diving into the steps, it’s crucial to understand the fundamental process of bread-making.
What Is Bread Dough?
Bread dough is a mixture of flour, water, yeast, and salt. As you mix the ingredients, the flour and water combine to form gluten, a protein that gives bread its structure and texture. Kneading the dough further develops this gluten.
The Importance of Kneading
Kneading helps strengthen the gluten in the dough, ensuring that the bread rises properly and has a chewy texture. It’s an important step—don’t skip it! Knead the dough for about 8-10 minutes until it becomes smooth and elastic.
The Role of Proofing and Rising
Proofing is the process where yeast ferments and produces gas, causing the dough to rise. It typically takes one to two hours, depending on your environment and the type of yeast used. Make sure to give your dough enough time to rise so that it reaches its full potential.
Step-by-Step Guide to Baking Perfect Bread
Now, let’s break down the step-by-step process of baking your homemade bread.
Step 1: Preparing the Ingredients
Start by gathering your ingredients: flour, yeast, salt, and water. If you’re adding any flavorings or mix-ins (like herbs or cheese), set them aside as well.
Step 2: Mixing and Kneading the Dough
In a large bowl, combine the dry ingredients: flour, yeast, and salt. Slowly add warm water, mixing as you go. Once the dough starts to come together, turn it out onto a floured surface and begin kneading. Knead for about 8-10 minutes until the dough is smooth and elastic.
Step 3: Proofing the Dough for the Right Rise
Place the kneaded dough in a greased bowl, cover it with a clean towel or plastic wrap, and let it rise in a warm place for about 1-2 hours. It should double in size. If it hasn’t, let it rest for a little longer.
Step 4: Shaping and Preparing for Baking
Once the dough has risen, punch it down gently to remove any excess air. Shape it into a loaf or place it in a greased loaf pan. Cover the dough again and let it rise for an additional 30-60 minutes.
Step 5: Baking the Bread to Perfection
Preheat your oven to 375°F (190°C). Bake the bread for 25-30 minutes, or until it sounds hollow when tapped on the bottom. A thermometer inserted into the center should read around 190°F (88°C).
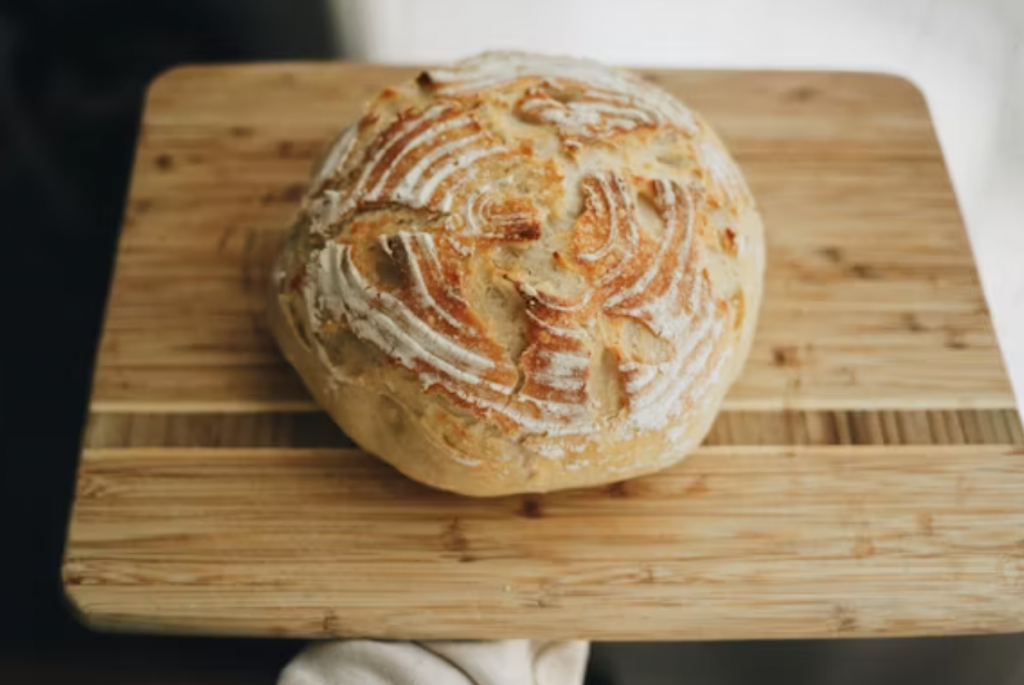
Step 6: Cooling and Storing Your Homemade Bread
Once the bread is done, let it cool on a wire rack for at least 30 minutes before slicing. This allows the bread to set and the texture to stabilize. If you have leftovers, store your bread in an airtight container to keep it fresh.
Troubleshooting Common Bread Baking Issues
Baking bread can be tricky, and sometimes things don’t go as planned. Here are some common issues and solutions.
Why Does My Bread Not Rise?
This could be due to expired yeast, too cold of an environment, or not enough time for proofing. Make sure your yeast is fresh and that your dough is kept in a warm, draft-free place.
Why Is My Bread Too Dense?
Dense bread can result from under-kneading, insufficient proofing, or using too much flour. Be sure to knead the dough properly and give it enough time to rise.
How to Fix Over- or Under-baked Bread
If your bread is under-baked, simply return it to the oven for a few more minutes. For over-baked bread, next time, check the temperature of your oven with an oven thermometer to avoid overcooking.
Tips for Enhancing Your Bread Baking Skills
Baking perfect bread takes practice, but here are a few tips to take your skills to the next level.
Experimenting with Different Flours
Bread doesn’t have to be made with just white flour. Experiment with whole wheat, rye, or even gluten-free flour to create different textures and flavors.
Adding Herbs, Spices, and Seeds for Unique Flavors
Adding herbs like rosemary, spices like cinnamon, or seeds like sunflower can make your bread stand out. Experiment with combinations to create your signature loaf.
Using a Dutch Oven for Crusty Bread
For a crispy, artisanal crust, bake your bread in a preheated Dutch oven. This method traps steam, which creates a golden-brown, crispy exterior.
Conclusion: Achieving the Perfect Loaf Every Time
Baking homemade bread may seem intimidating at first, but with the right ingredients, techniques, and a little patience, you’ll be able to achieve perfect loaves every time. Remember to take your time with each step, troubleshoot when necessary, and don’t forget to have fun in the kitchen!
No responses yet